This project aims to create an application for editing, creating and generating images. It implements many classes in object-oriented programming and is coded in C#. The objective is to allow the user through an interface in WPF to access several modules: generation of fractals of Julia and Mandebrot, black and white filter, resizing, application of various filters, rotation of the image, mirror, colour histogram, luminosity histogram, to cripter an image in another, to generate and decode a QR code, to use an equivalent of paint coded in WPF.
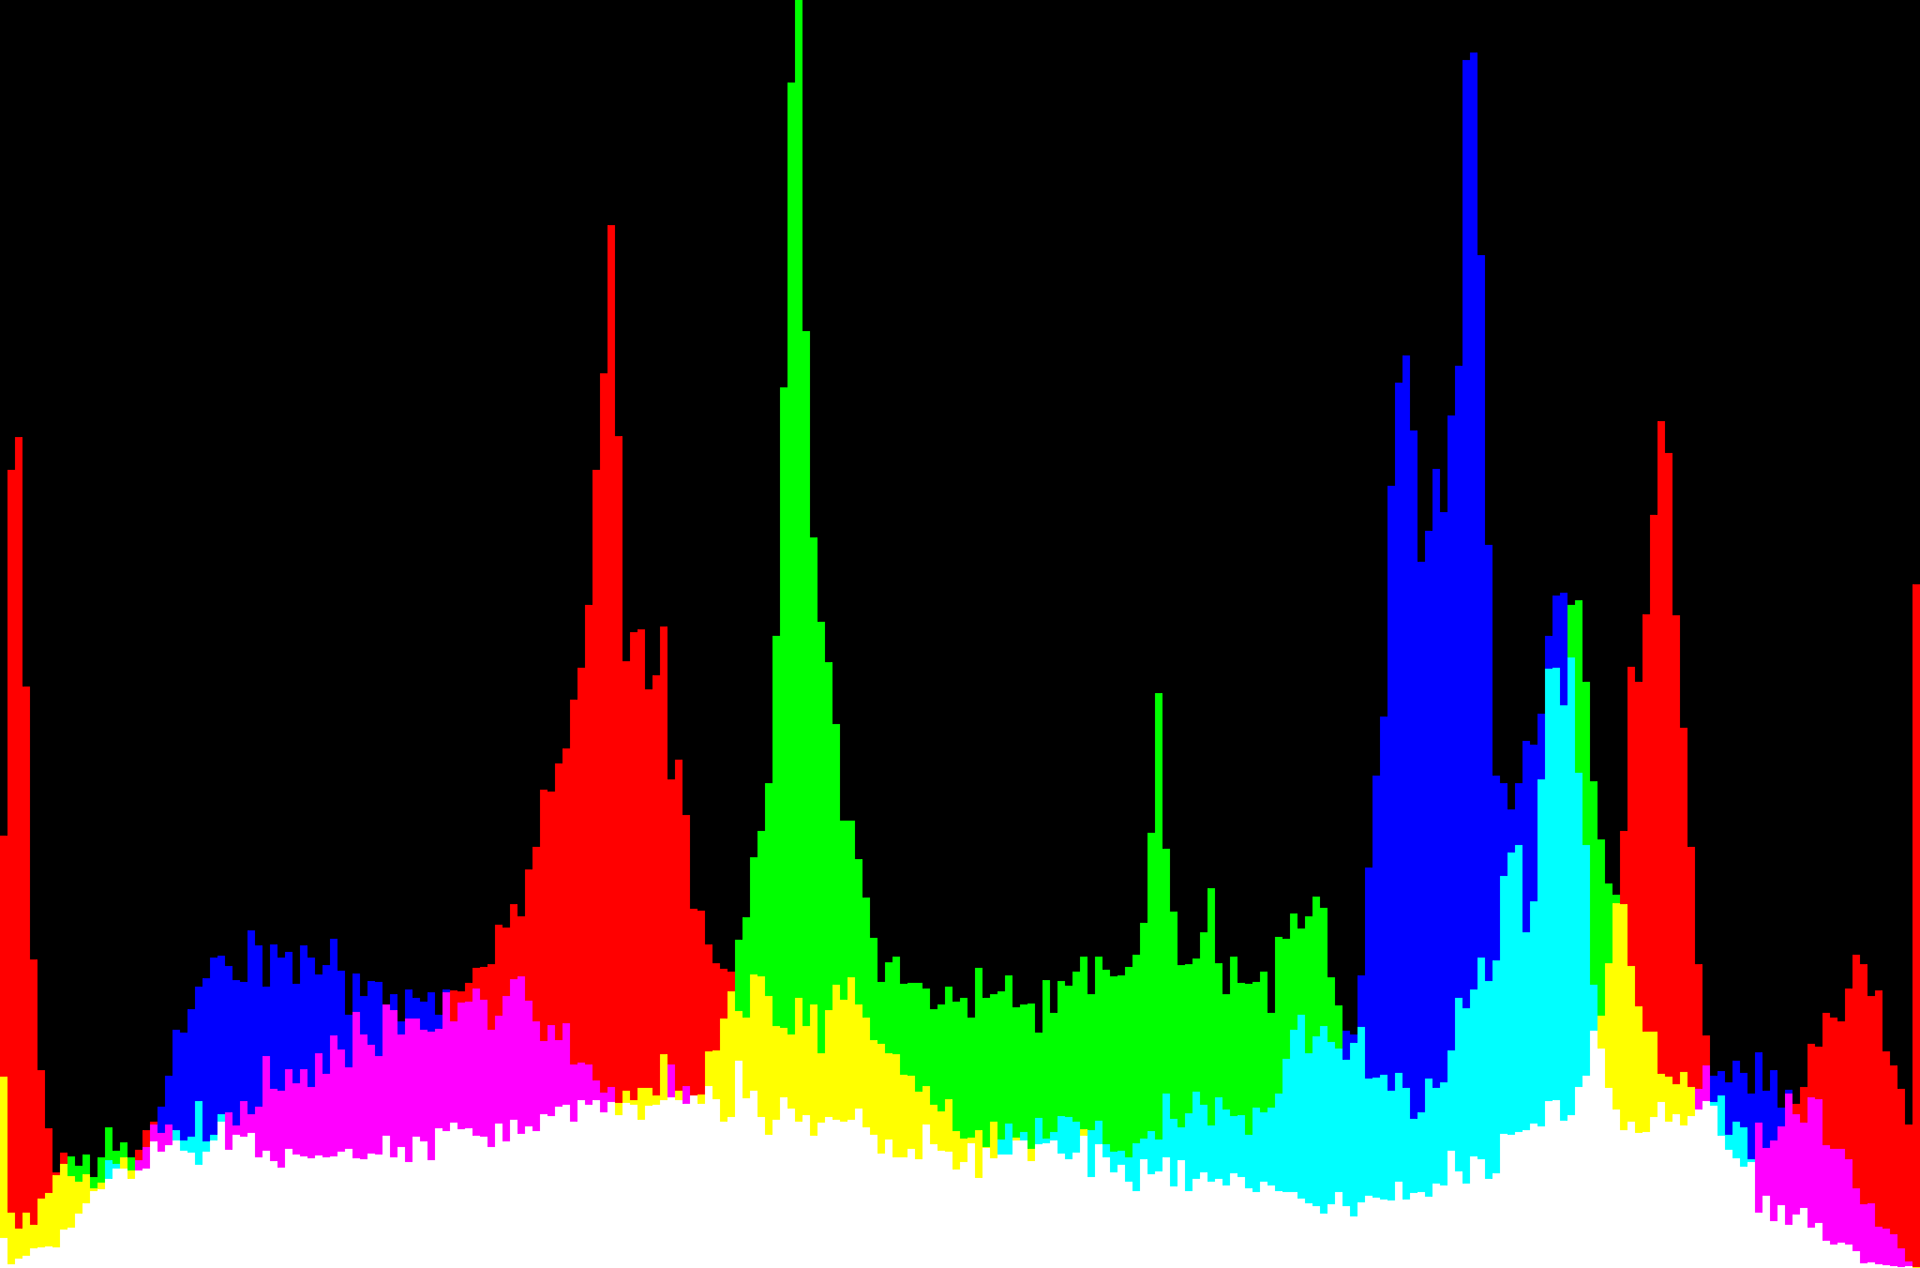
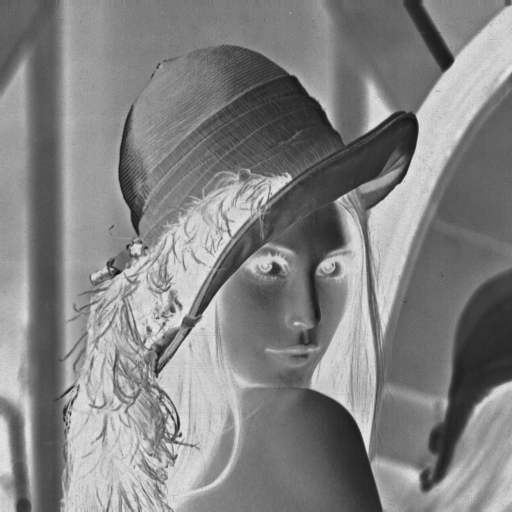
Some results obtained after some use of the application :



Main program :
Program
No attributes as this is the main program. It defines an image retrieved at an address or can define it from a size. It then presents the various functions proposed with the help of a switch. When the image has been modified, the program saves it to a "path" address.
Pixel
Attributes: int[] tabPixels the array containing the three colour indices of each pixel (or more if an image is defined)
MyImage (has two constructors)
Attributes : int heightImage and int widthImage, the height and width of the created image. int sizeFile, string typeImage, the file format (.bmp or other), Pixel[,] matImage the pivot format of our project. It is in this matrix that we make our modifications to the image. byte[] tabFile, file containing all the bytes of our image including the header.
This class contains all the coded functions that apply to the image.
QrCode (has two constructors)
Attributes : int version, the version of the qr code (even if we only coded the first version of the QR Code), string text (contains the text to be placed in the Qr Code), MyImage qrCode, allows to define a Qr Code from an image that has been retrieved from the hard disk and transcribed into MyImage, Pixel pixelBlack, black pixel on the QR Code, Pixel pixelWhite, white pixel on the QR Code, Pixel pixelBlue, pixel used for the placement of data in order not to disturb the patterns already present.
This class contains the QrCode generation function, which creates the code to be placed from the text entered, places the search patterns, the dotted lines, places the data by going through the matrix according to the mask, then enlarges the image so that it is more readable and finally saves it on the computer. The class also contains a data retrieval function that traverses it, and writes the data included in the image and returns the contained text.
GUI in WPF :
Main Window
No attributes. Contains all the elements of the GUI, the 13 buttons of choice of functions, and browse a button second, third, fifth : No attribute sixth
Attributes: path, the path on the hard disk allowing to define a MyImage from this path.
Paint :
WindowPaint
Attributes: double heightToolbar, height of the toolbar allowing to draw without having an offset, string path, path of the displayed image, SolidColorBrush colourChoose, the displayed shapes will be of the chosen colour.
This class contains the definitions for drawing lines, ellipses and rectangles. It calls them when the left click is released on the canvas. A right click causes the mouse coordinates to be saved. It also contains a function that retrieves the colour indices of the sliders to define the colour of the shapes, as well as the function to import an image.
Explanation of the innovation
For the innovation we thought of using WPF to create something using its possibilities and which was difficult to achieve using only the console applications. We had considered making a paint, which seemed quite complex. But after reading the pdf explaining WPF on DVO and watching some tutorials we managed to program it by studying how the canvas works.
In our innovation we have a button to import an image, three sliders with their text box to select the colour index we want. We have programmed three different shapes: a line, a rectangle and an ellipse. It is also possible to make a screen capture and a recording thanks to another button.
In our innovation we have a button to import an image, three sliders with their text box to select the colour index we want. We have programmed three different shapes: a line, a rectangle and an ellipse. It is also possible to make a screen capture and a recording thanks to another button.
I personaly thank Thomas Culino, whith whom I collaborated to create this project.
